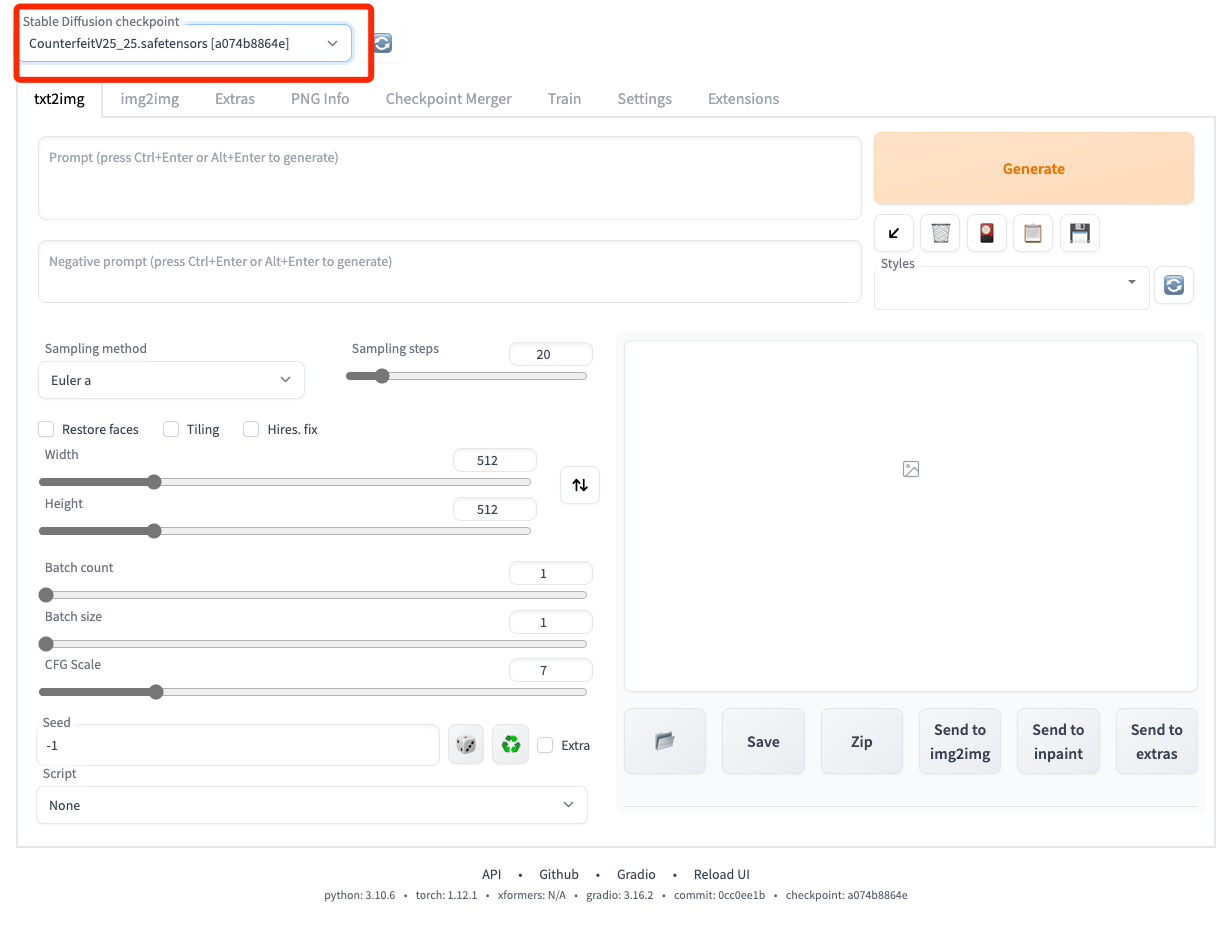
In this article, I will present a step-to-step guide to help you set up stable-diffusion-webui uploaded by automatic1111.
Pre-requisite
- Large AI models perform better on GPUs, check your GPU's version by
running
nvidia-smicommand. This would allow you to check your CUDA version (kind of GPU driver), which will be used in later package selection.
- Check you have installed Python and
git.
- By command
python --version&&git --versionyou could check whether they are installed.
- If you haven't installed Python, you could check the official website to
download the package(^^3.9+ version with installer
recommended!^^).
- If you haven't installed Git, check the Official website to download the package.
- By command
Choose your model
Models often require some time to be downloaded, so it's prudent to start downloading the models and then continuing to setup your environment.
Here is some resources for diffusion models
A website with fine-tuned checkpoints
Fine-tune is a technique for further fitting the base AI models to the given style or performing better on a specific task.
Set up your environment
One popular repository for diffusion is the stable-diffusion-webui by AUTOMATIC1111
- Run the command below under the directory where you want the application to be placed.
1 | |
Automatic Download
- Following the instructions in the
README, you could either runwebui-user.bat(Windows Users) orwebui.sh(linux user bybash webui.sh) to automatically download the required packages
Manual Download
- Create a virtual environment for the required packages using conda.
- create a new conda environment with command
1
2
3
4
// You could change the word after -n
// to customize the environment name
$ conda create -n diffusion
$ conda activate diffusion
- create a new conda environment with command
- Download the corresponding
pytorchpackage (the CUDA version) using the command from official website- For example, if your CUDA version is 11.4, run the below
command
1
$ conda install pytorch==1.12.1 torchvision==0.13.1 torchaudio==0.12.1 cudatoolkit=11.3 -c pytorch
- For example, if your CUDA version is 11.4, run the below
command
- Run
python launch.pyand let the script install the other packages for you. Or you could runpip install -r requirements.txt.- If failed to launch, you could
- Manually download the repository
git clone https://github.com/Stability-AI/stablediffusion.git
- Install the required package according to Requirements - skip the pytorch installation
- run
pip install -e .in the directory
- Manually download the repository
- If failed to launch, you could
Place your models
- After you could run
python launch.pywith no error, put the downloaded model understable-diffusion-webui/models/Stable-diffusion/directory, then you should be able to adjust the model on the top left corner.

You are ready to go!
- Make sure your conda environment is correctly activated, then copy
and paste the command
python path/to/your/webui/folder/launch.py - For prompt reference, you could dive into different communities and use this wonderful search engine.
- In a later article, I will present more detailed introductions to the different components of diffusion models (like inference steps, sampling methods and so on). You could also reference to the wonderful tutorials on Stable diffusion webui wiki for advanced features.