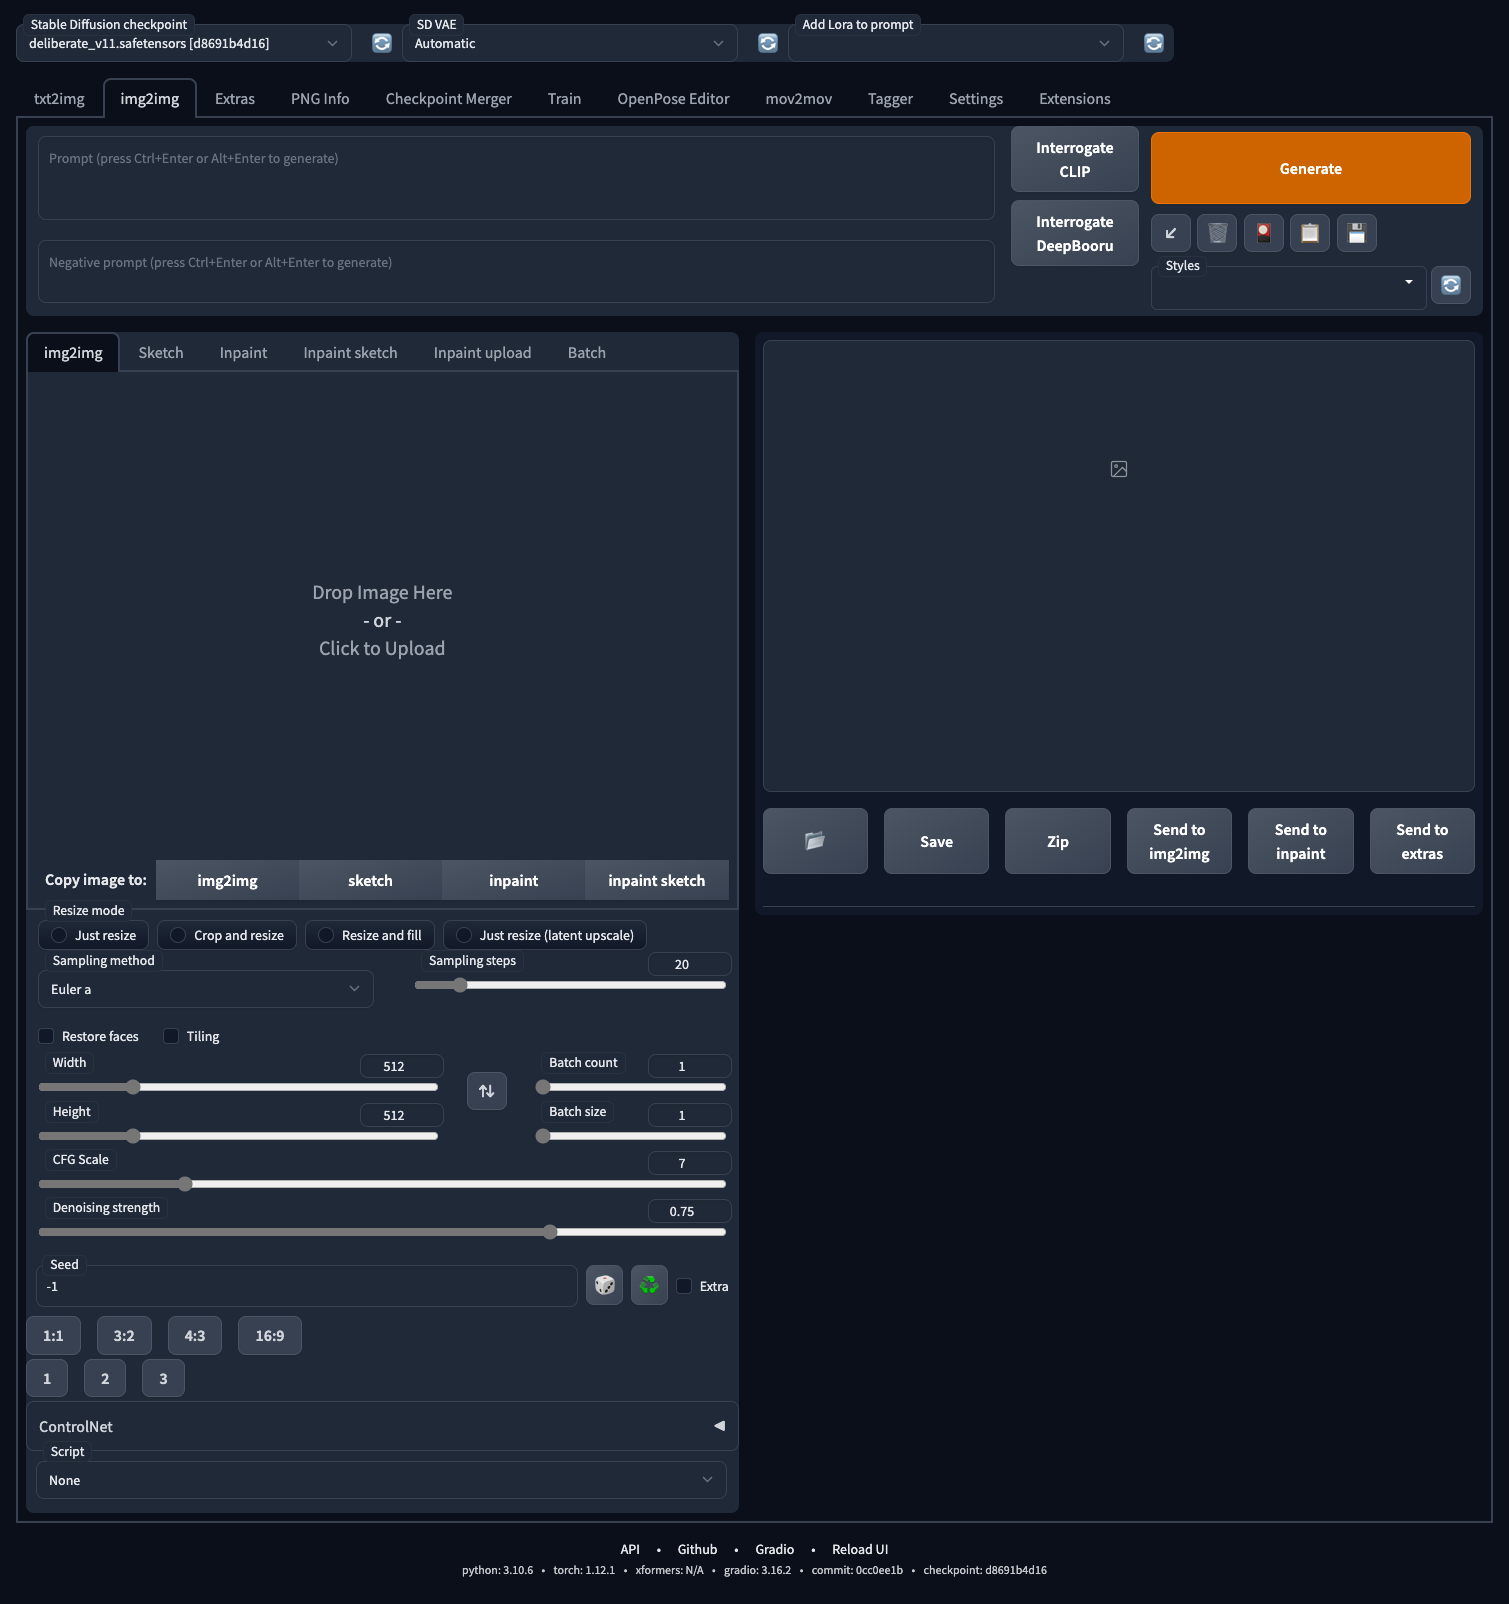
In this article, I will provide a walkthrough of common features on img2img tab.
- I will first go through some unique parameters for this tab, then
provide my workflow on use cases like outpaint and inpaint.
- In img2img tab, images could be used as additional input as the guide for generation. This enables a bunch of useful cases. For exmaple, you could use realistic photo to generate your animation figure, or use hand-drawn sketch to create good looking pictures.
Unique parameter
For most of the part, img2img tab shares an identical
parameter list as txt2img tab, please check my previous
post for more detail. Additional parameters are used to customize
the process of input images.
Resize mode
This defines the behavior when the input image size is not same as the one you indicated.
- Just resize
- resize the image to target resolution. This may lead to incorrect aspect ratio
- Crop and resize
- Resize the image so that entirety of target resolution is filled with the image. Crop parts that stick out.
- Resize and fill
- Resize the image so that entirety of image is inside target resolution. Fill empty space with image's colors
- Just resize (latent upscale)
- same as the first one, but uses latent upscaling method (without a scaler, just latent decoder) - Ref
Denoising strength
- Range in
[0,1]. This defines the similarity between the generated image and the original one. The larger / the closer to1, the image would likely to take less features fro the original input.
Usages
Style Transfer
Use your image as input, adding prompt, choose the right style model, and AI will do the magic.
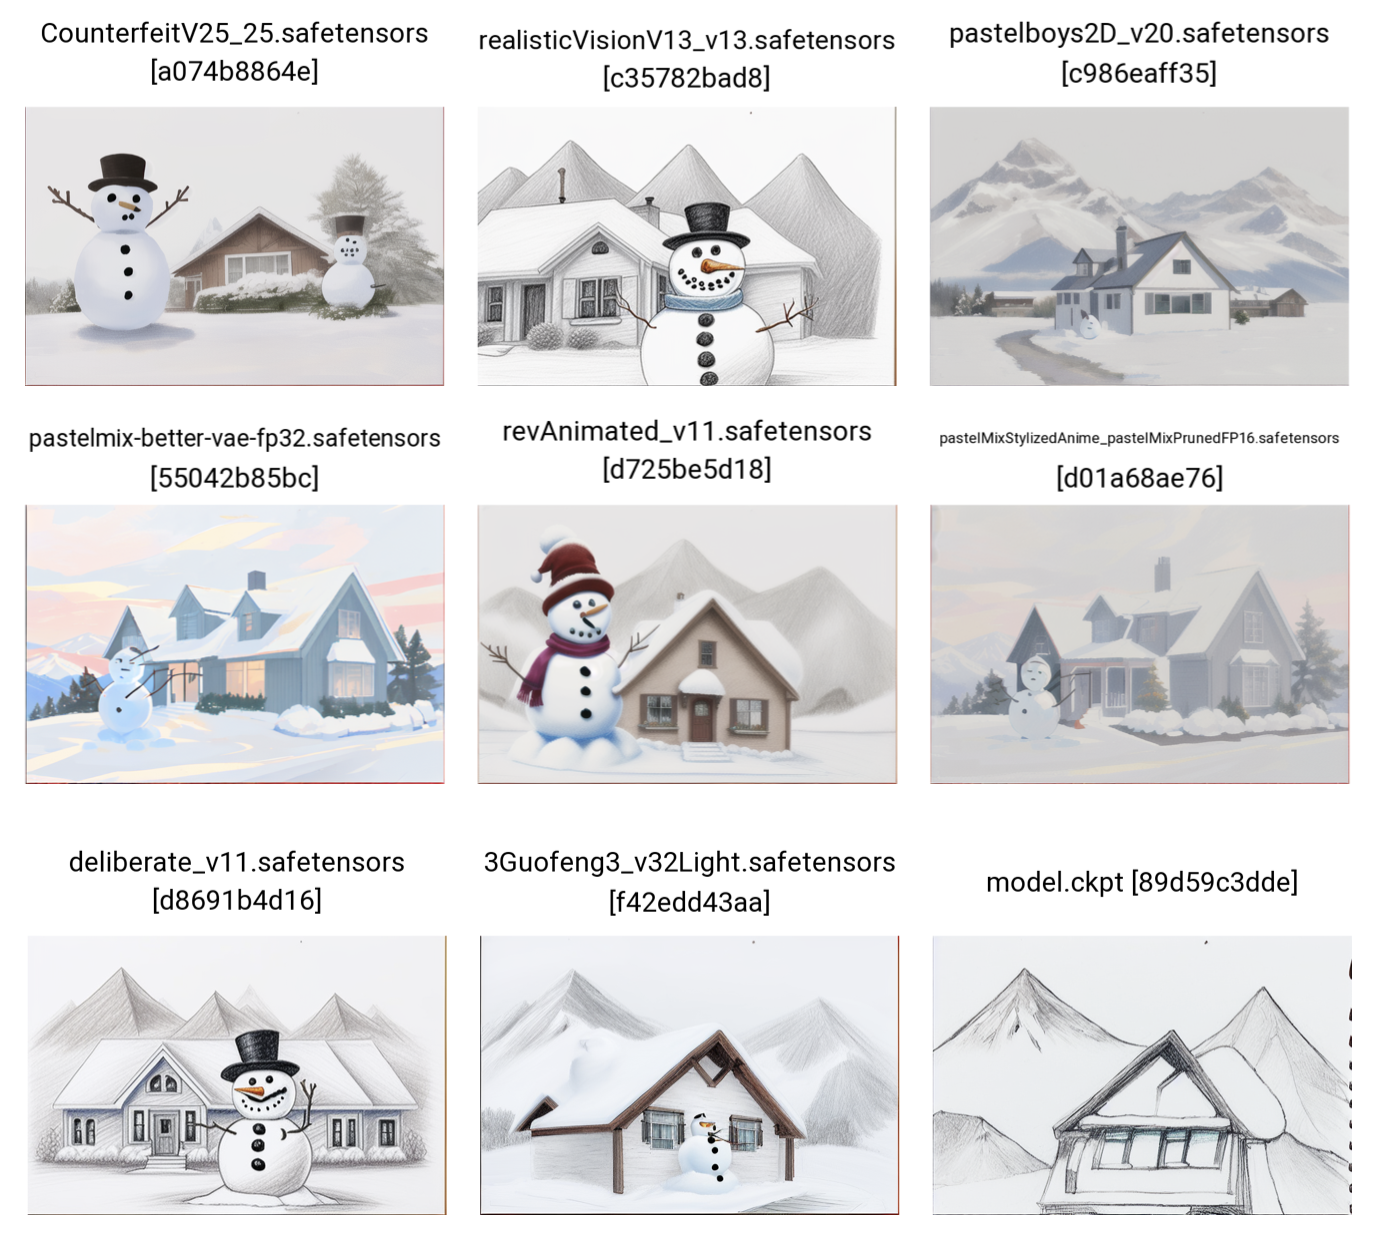
Below is a showcase of using a same prompt and image input with different models gives different style output.
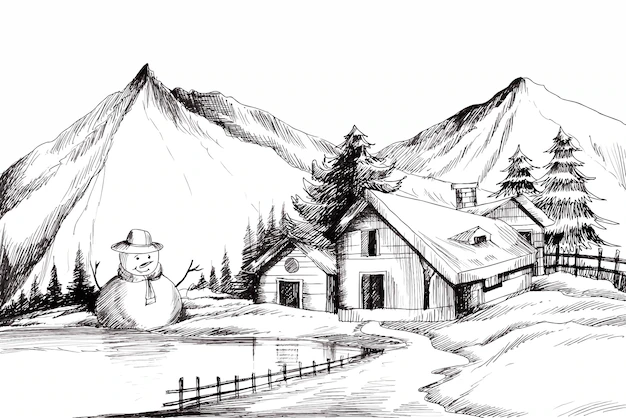
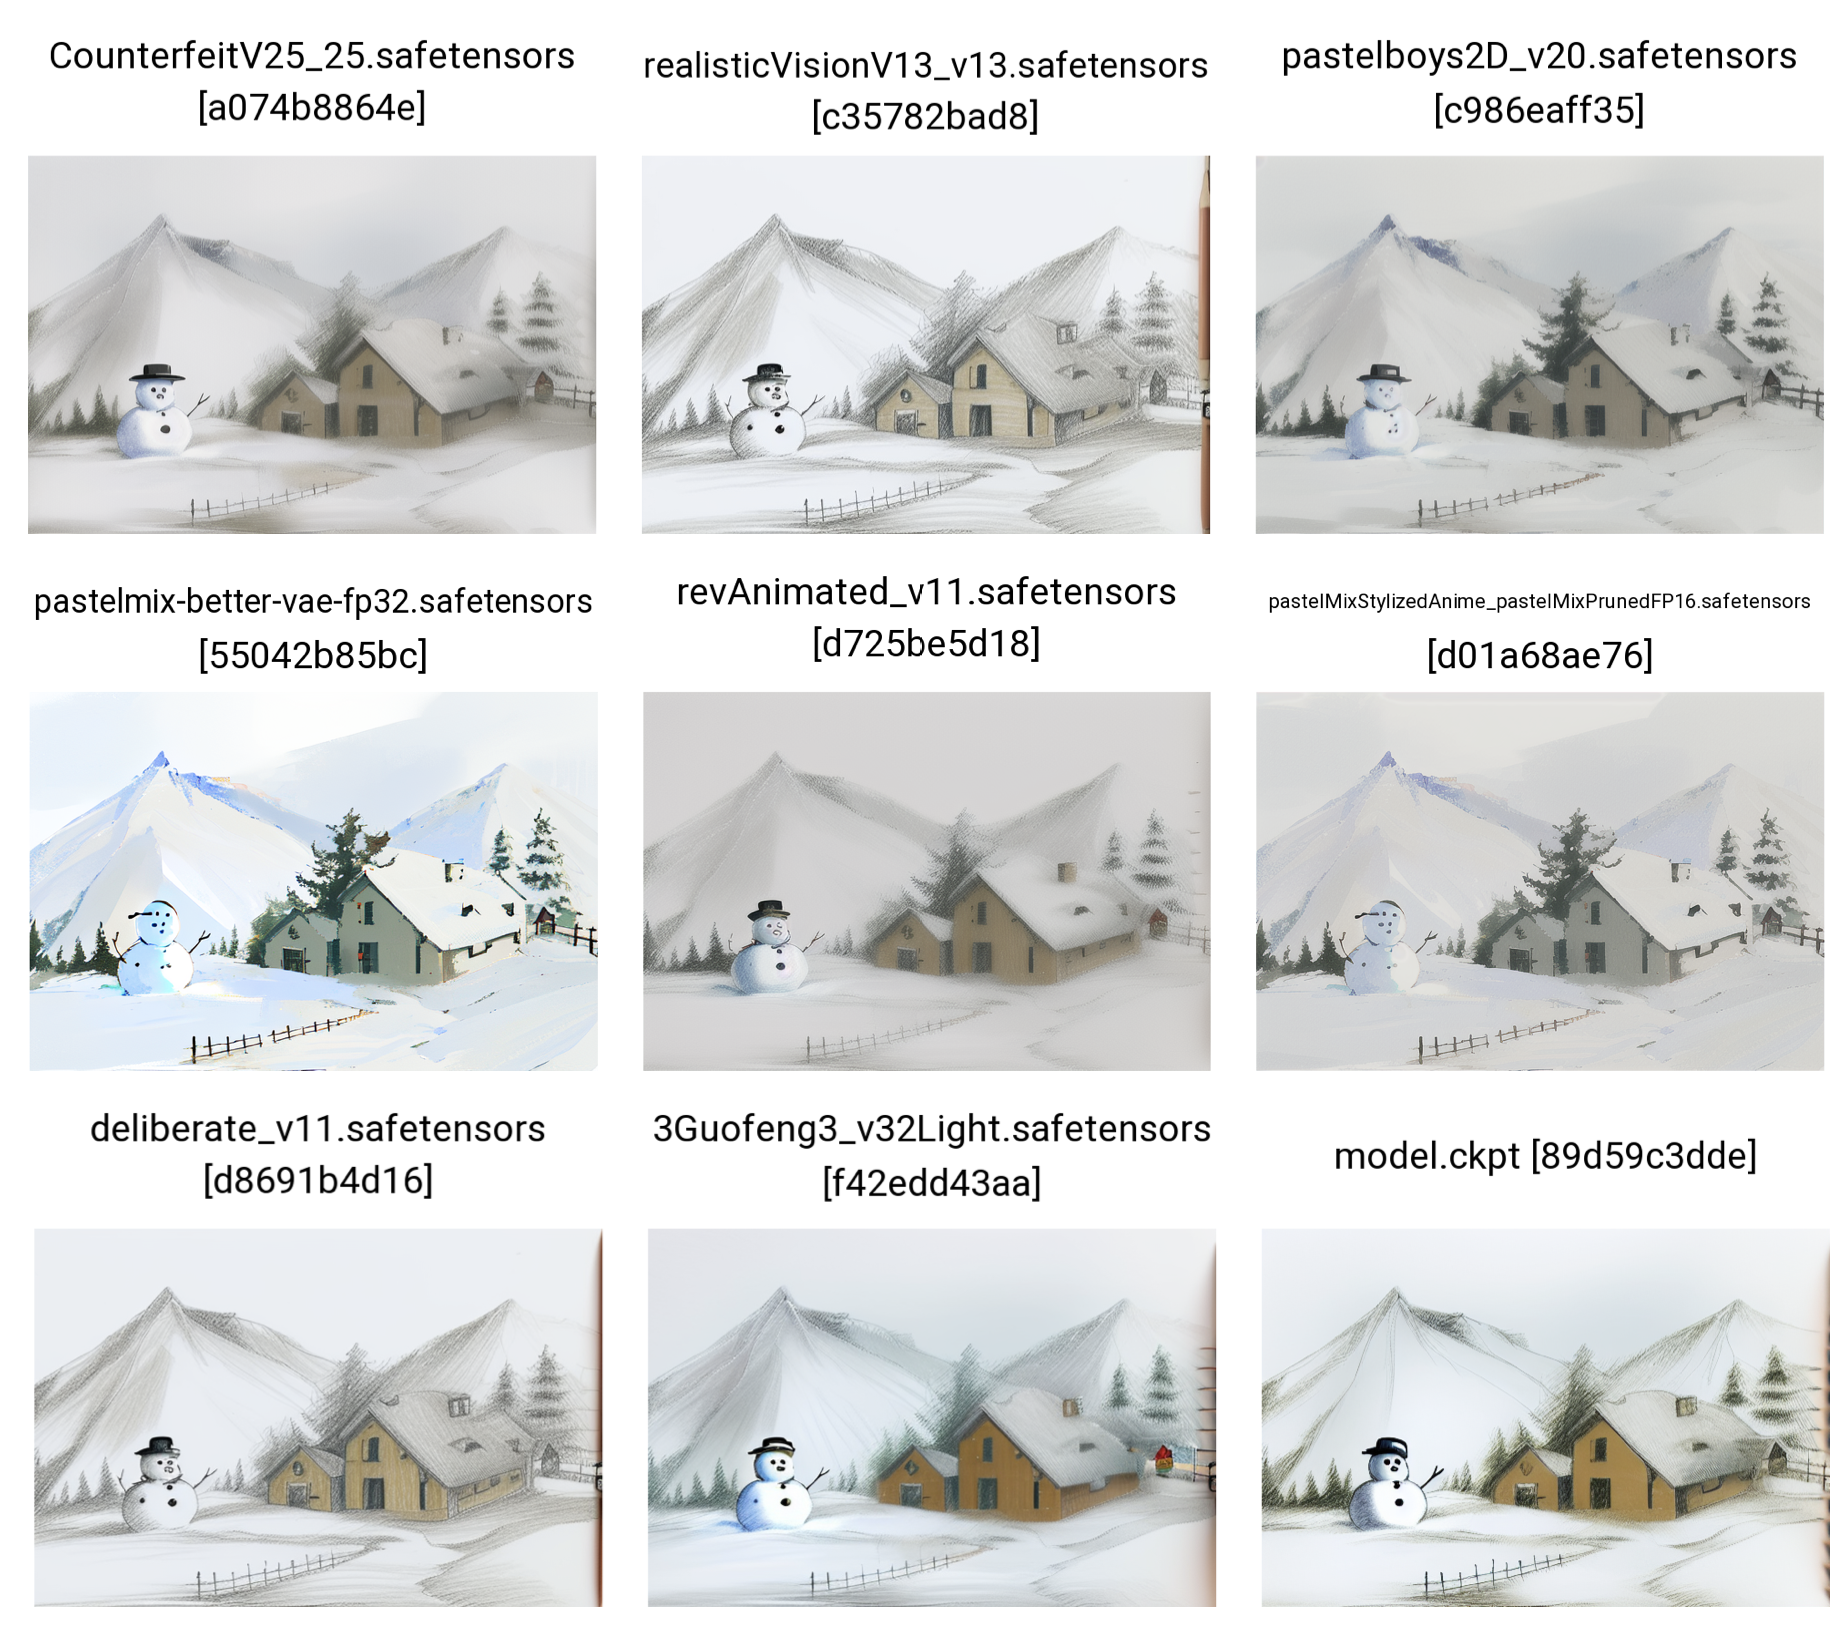
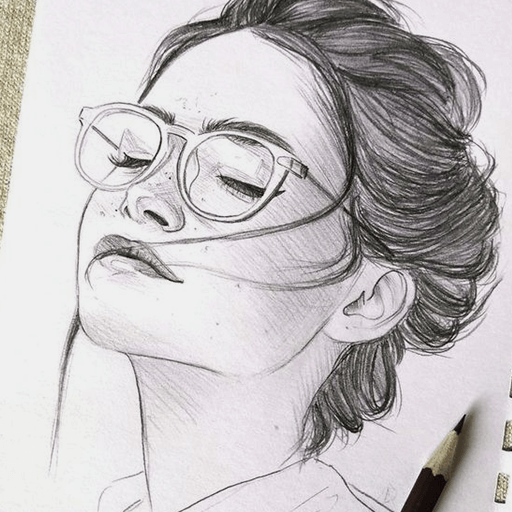
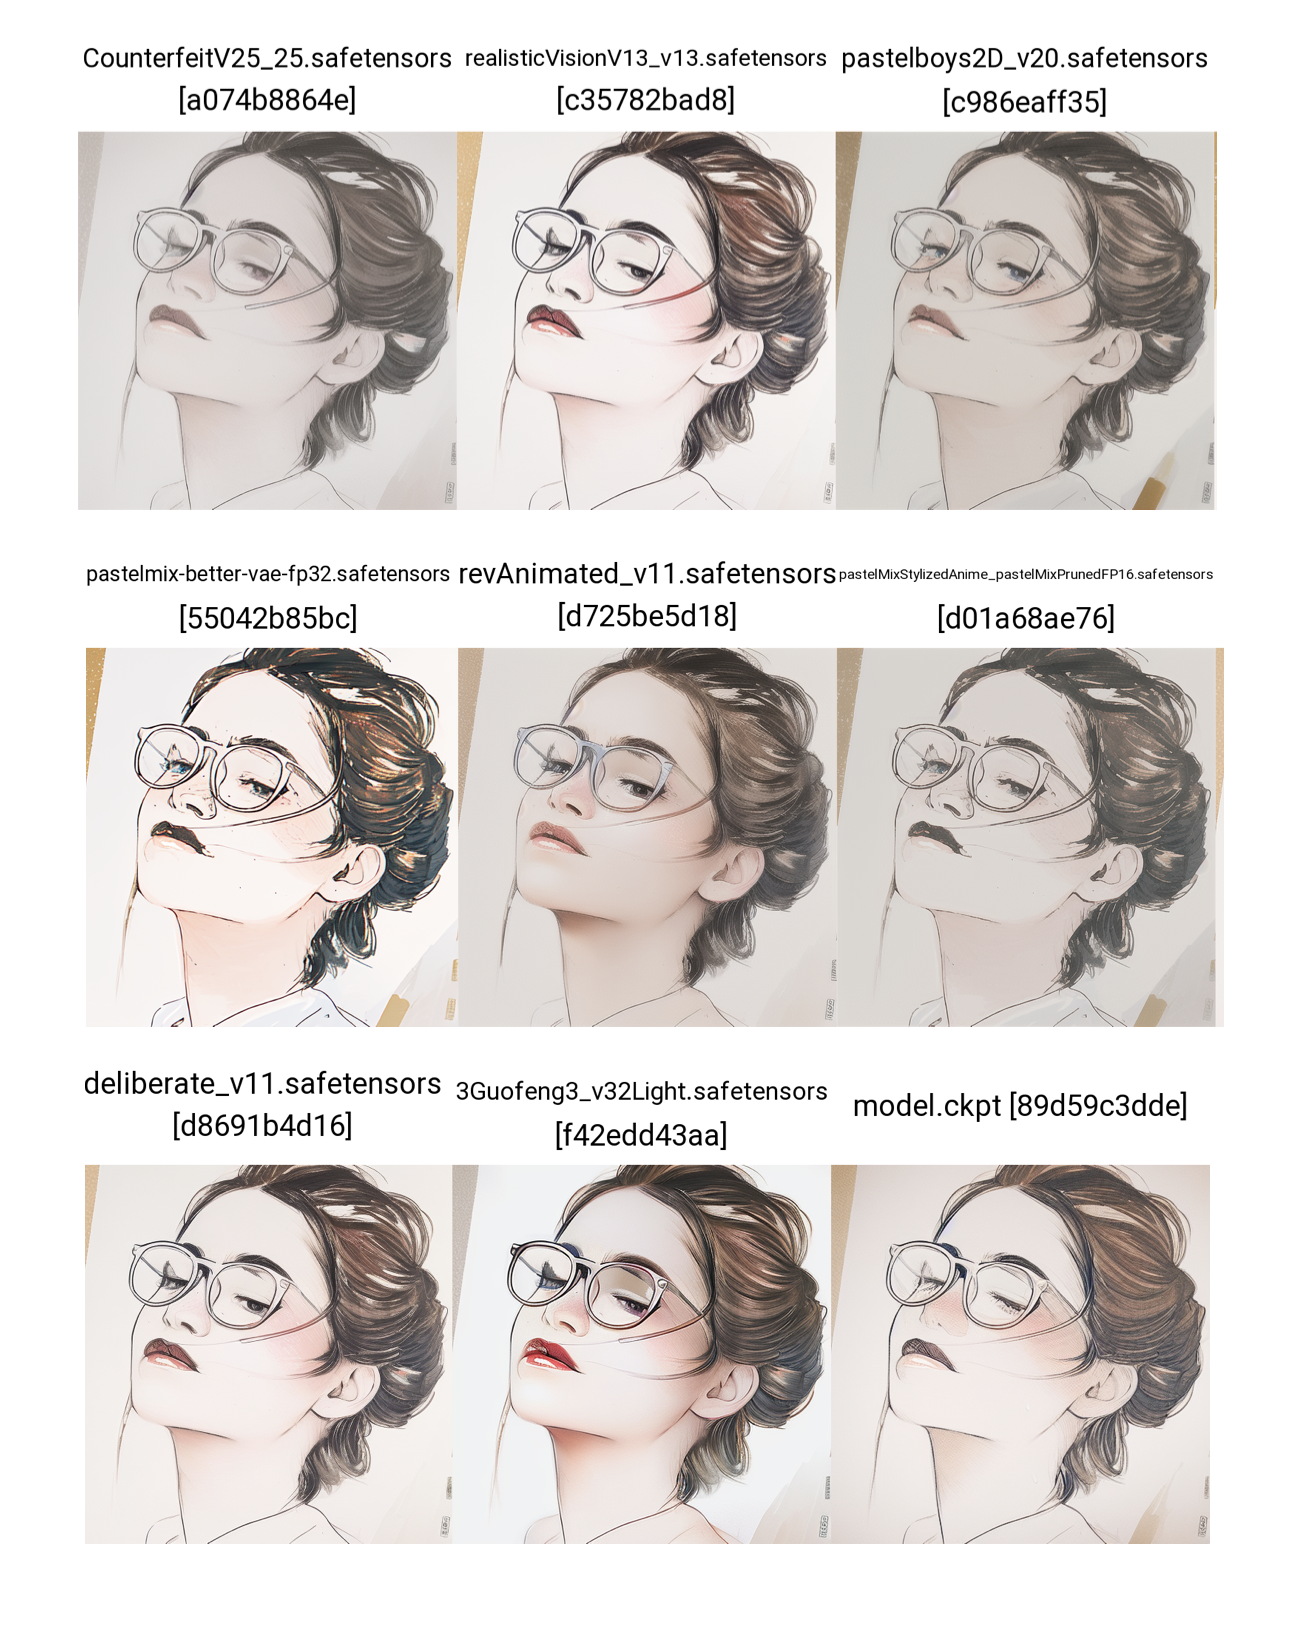
I have to admit that I used ==ControlNet== for the basic image structure control. With only image and text guidance, you will get pretty randomized output, like the one below.
Inpaint - Fix / Modify selected parts of the image
Mask the part you want to re-generate, modify the prompt a bit, you could fix those faulty parts or let the AI inspires you.
Inpaint processing logic
- Select Mask Area
- Pre-process masked area
- Add mask blur
- Image generation
Parameter settings
Prompt
- Prompt for the masked area (or the not masked part)
- Could reuse the prompt when generating original images
Mask Blur
- To what extent should the masked area should be blurred, influence the third steps above
- The higher the value, the lower the degree of ambiguity

Mask mode
- Tell the model which area to inpaint
Masked content
Defines how to preprocess masked area (refer to logic step 2)
- fill
- Based on the image color, use blurred color block to replace the original image.
- original
- No pre-process, directly use original images
- latent noise
- Use latent noise (the AI's interpretation of input prompt) to fill
- latent nothing
- Use a zero-valued latent variable to fill selected area
Normally, fill & original are used for
minor improvements. latent noise and
latent nothing are used to generate something new with
significant difference.
Inpaint area
- Whole picture
- After inpainting, refer to the width and height, resize mode to adjust the image.
- Only masked
- Only repaint the masked area
- Better for high resolution images, no need to set width and height
- Only masked padding, pixels
- When
inpaint area = only masked, defines the masked area's pixels count. - The smaller the value, the higher the density of filled pixels.
- The higher the density, the more content it will be generated - may lead to the generation of a new image based on your prompt in the inpaint area.
- When
Other inpaint mode
- inpaint sketch
- add color guide to the mask, could adjust the guidance strength by mask transparency
- inpaint upload
- problems of normal inpaint
- Mouse does not easily apply problem areas with precision
- One-time masking does not stay
- Inpaint upload tab allows you to upload an image and a prepared mask image
- Note
- The mask is black and white, ==white== represents the mask selection area
- Leave some inner space for inpaint area
- problems of normal inpaint
Outpaint - Expand existing image
- Under certain circumstances, you may want to expand an existing image. This is when outpaint script come into play.
- In the bottom left corner, you could find a drop down list for
Outpaint script, which by default has two versions, normally we use
Outpainting mk2version for more stable result.
Parameter settings
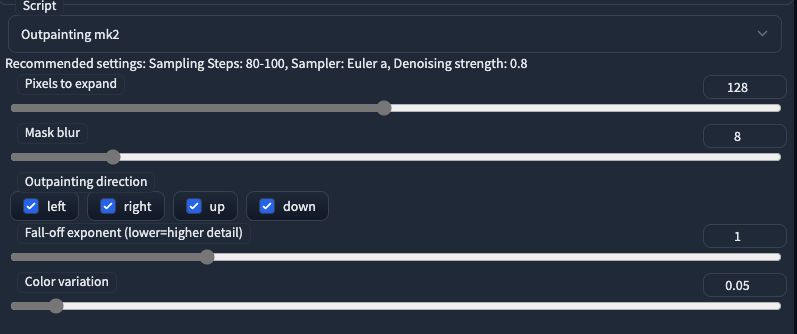
- For both scripts, there are two common settings -
Pixels to expand, andOutpainting direction. This is pretty straightforward to understand. - For
Outpainting mk2,mask bluris applied to the outpainted part during preprocess to create a soft boundary between original image and the expanded part. Fall-off exponentcontrols the “smoothness” of the masked picture (one to be expanded). A higher value would result in a smoother noise pattern, which would then lead to less detail when generation.- Like
Fall-off exponent,Color Variationhad an impact on the expanded areas in aspect of colors. - If you are interested in the details of how these parameters take
effect, check the source code in
stable-diffusion-webui/scripts/outpainting_mk_2.py
Example
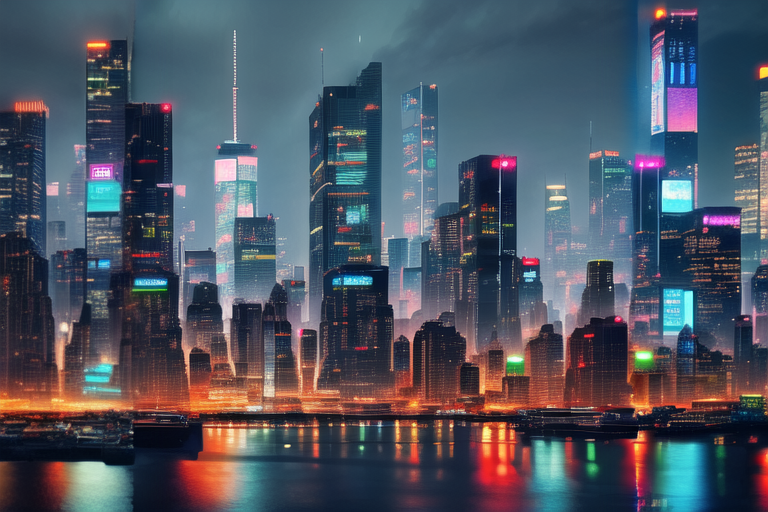
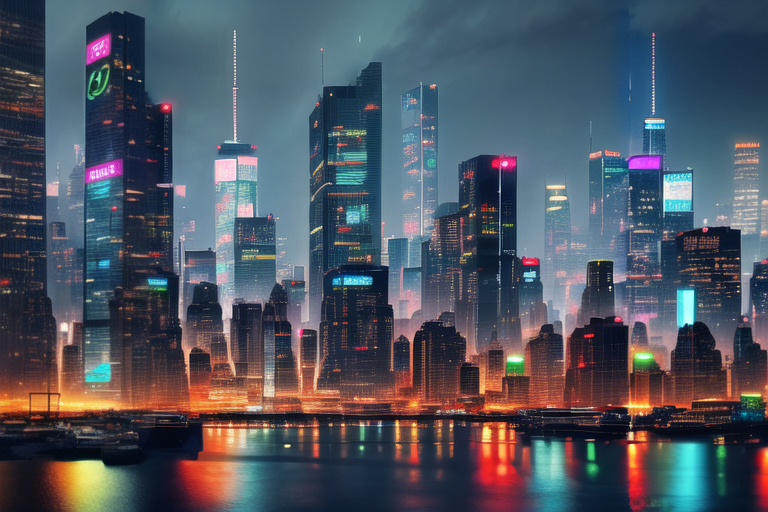
Let's now see a concrete example. Say I got picture of New York city as follows: (I put the generation detail at the end of this article)
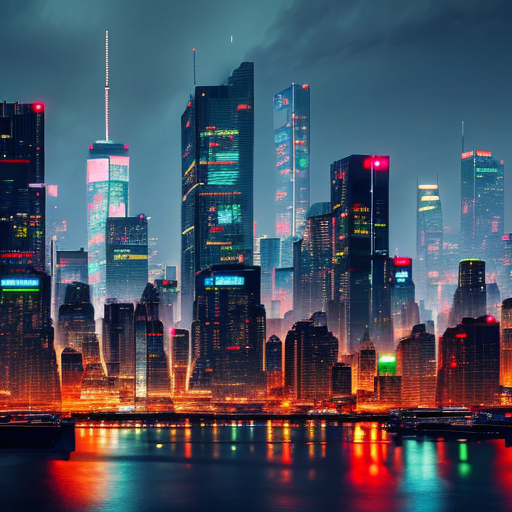
- Now I want to expand the left and right side to add more details to
become suitable for a wallpaper. I clicked the
Send to img2imgbutton under the generation panle, and all the generation detail and the results are passed to theimg2imgtab. - In the script channel, I selected
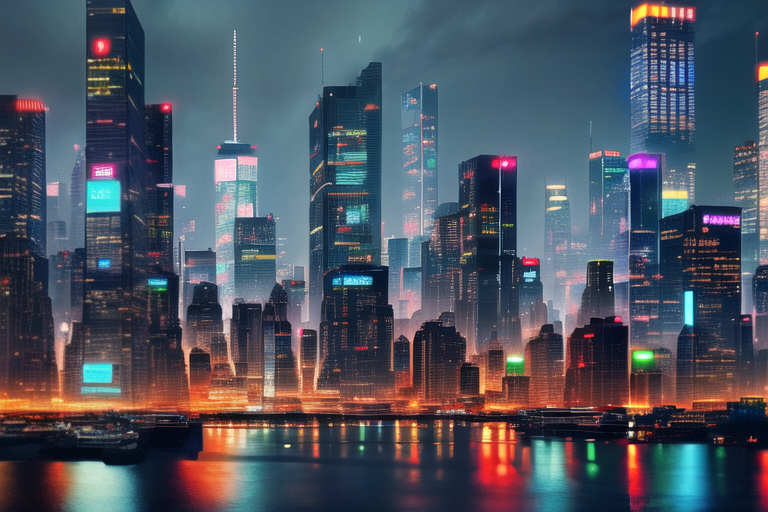
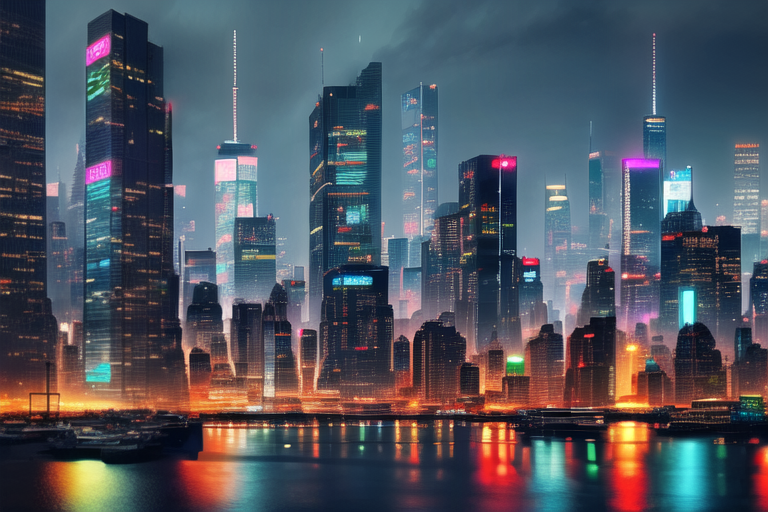
outpainting mk2. Following the script's instruction, I modified theSampling methodtoEuler a, andSampling stepsto60, andDenoising strengthto0.8and I got the following result. - Though it seems good at first glance, this picture has several problems - the most significant one is the clear boundary between original image and the expanded ones, check the light's reflection cut off in water bottom-left or the clear split of skylines on top right.
- I therefore modified the
mask_blurintended to create a soft boundary. By settingmask_blur=10, here is what I got - I also play around with other parameters settings and you could
check the impact of different parameters.
maskblur=10, falloff=1, colorvar=0.5(Increasing Color variation to the previous one)maskblur=20, falloff=1, colorvar=0.5(Increasing mask blur)
Modify the image by instructions (Not mature)
- In light of InstructGPT, some may find it useful to modify the image by direct textual instructions.
- This involves the wonderful work
(below image source) presented by UC Berkeley Tim Brooks and his fellows.
- Maybe it's the reason that I didn't get the correct format for instructions, I could hardly use it on my own images, it performs perfectly well on examples though.
Generation details
- For cyberpunk New York City - Model Link -
deliberate_v11
  a picture of New York City with a lot of tall buildings, ((cyberpunk)), rainy, night, CG, Unreal Engine, best quality

  Negative prompt: (deformed iris, deformed pupils, semi-realistic, cgi, 3d, render, sketch, cartoon, drawing, anime:1.4), text, close up, cropped, out of frame, worst quality, low quality, jpeg artifacts, ugly, duplicate, morbid, mutilated, extra fingers, mutated hands, poorly drawn hands, poorly drawn face, mutation, deformed, blurry, dehydrated, bad anatomy, bad proportions, extra limbs, cloned face, disfigured, gross proportions, malformed limbs, missing arms, missing legs, extra arms, extra legs, fused fingers, too many fingers, long neck
  Steps: 25, Sampler: DPM++ 2M Karras, CFG scale: 7, Seed: 2970153128, Size: 512x512, Model hash: d8691b4d16, Model: deliberate_v11, Clip skip: 2, ENSD: 31337
